
ルービックキューブの台座を3Dプリンターで作ってみました。
さっそく、3DCADで台座のデザイン。
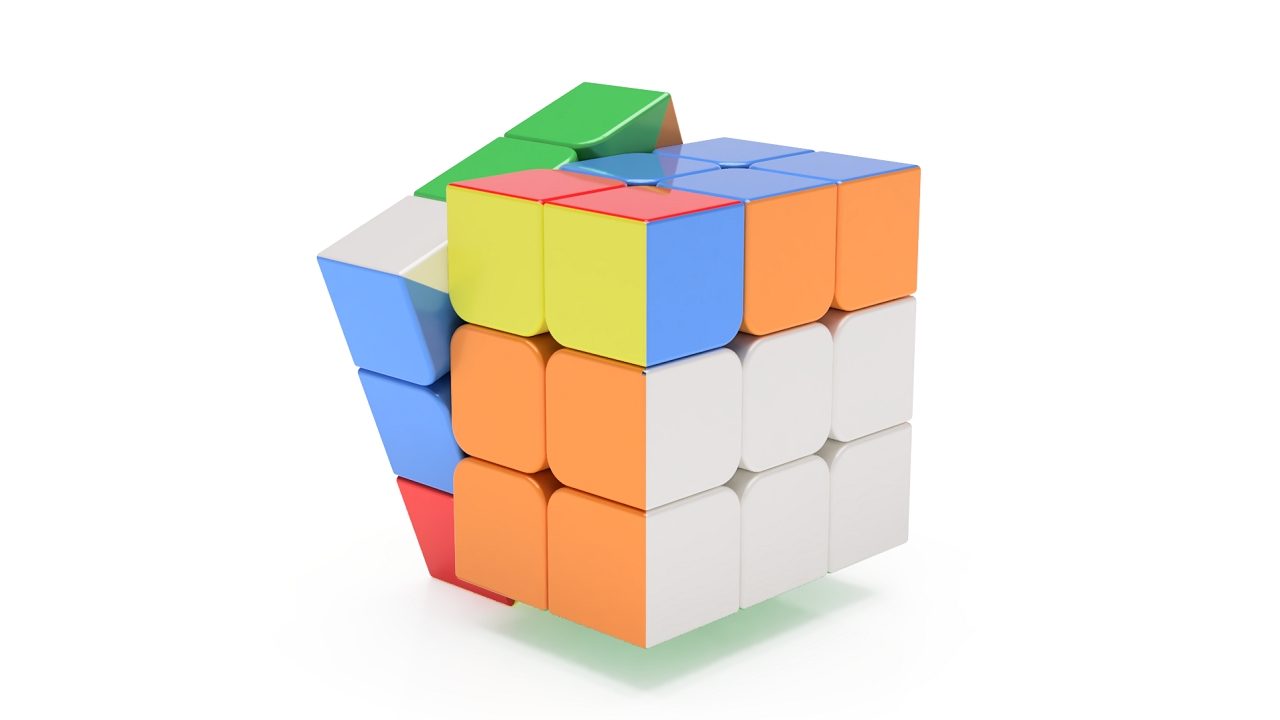
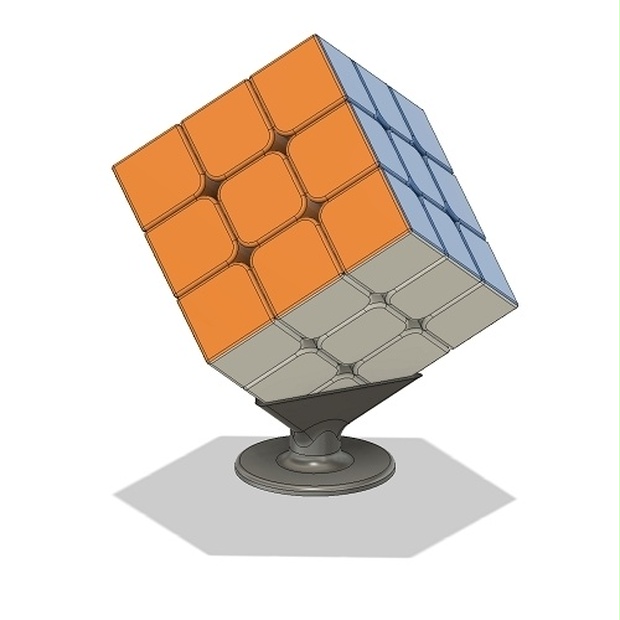
▼3Dモデル▼

ルービックキューブの3Dモデルは不要でしたが、雰囲気出すために作図してます。立方体を上の絵のようにきれいな角度で傾けるのが何気に難しかったです。
▼台座部分▼
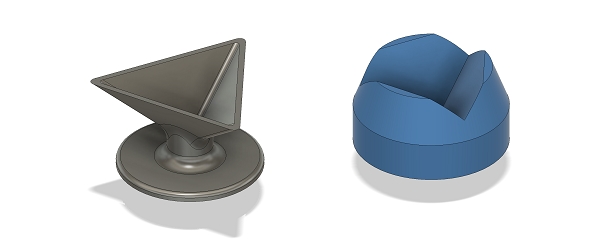
角ばってる感じと、丸い感じの2個デザイン。もう少しいくつか考えたかったのですが想像できなかったです。このモデルをスライスコードに変換してプリンターで造形します。
▼造形中▼
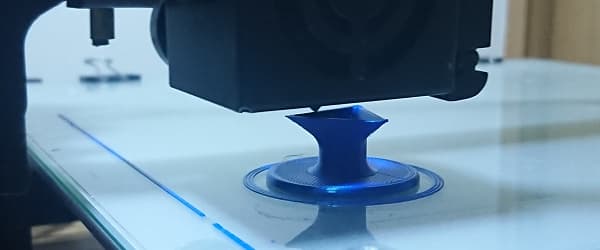
材質はPLA(シルク青)。印刷時間が1個1時間程度。オーバーハングそこそこありますがサポートは無しです。
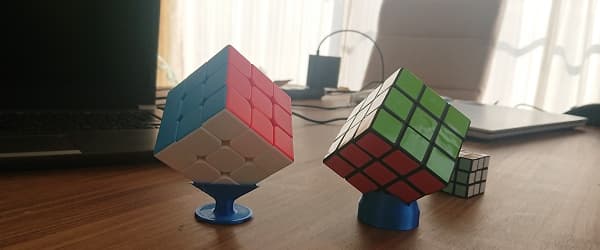
▼完成▼
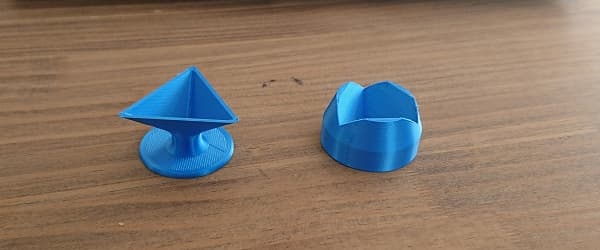
写真では分り難いですが、三角の方はやはりオーバーハングがきつくて少し表面が肌荒れしている感じの仕上がりです。丸い方は問題無く完成。
対して需要はなさそうですが3Dモデルはこちらで頒布してます。
▼BOOTH(外部サイト)▼
コメント